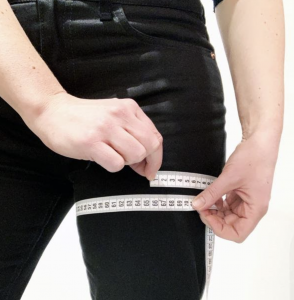
Scroll down for the step-by-step measuring guide.
I know it’s a bit scary to measure your size, if you are not used to do that. It can also be a bit confronting. Maybe you don’t want to know your measurements? It can happen for example that you always thought you were a size M, but then suddenly according the size guide, you are a size L instead. That can’t get be right, you think.
Size jungle
But every brand is using sizes in a different way, meaning there are no such thing as perfect M, or a perfect XS. A size M can be a s size S at another brand and even within the same brand you can have different sizes. You definitely can’t trust the standard size system for knowing your real size. I can write a whole blog about the jungle of inconsequent sizing and I definitely will do that soon. But this story is about helping you to measure yourself to get it right.
Scary?
You might think it’s a bit scary to unveil your real size and you are uncertain if you will get it right. First of all: don’t doubt yourself! You will get it right with our instructions.
And secondly a tip to get it right. Measure yourself 2 times during different times of the day or on different days. The results will probably differ, but that’s only normal. We differ in size depending on which time of the day it is. For women, the measurements can also differ depending on where you are in your menstruation cycle. Take the average of all measurements taken and you will get the best result.
Measuring is not that accurate
If you measure yourself, you will probably get different results each time. This is NOT a problem, because 1,2 or 3 cm will not make the difference between a good and bad fitting. Only when it starts to differ more than 4 cm it will start to affect the fitting.
If you want help, don’t hesitate to contact us to book an online measuring session.
Step for step measure guide
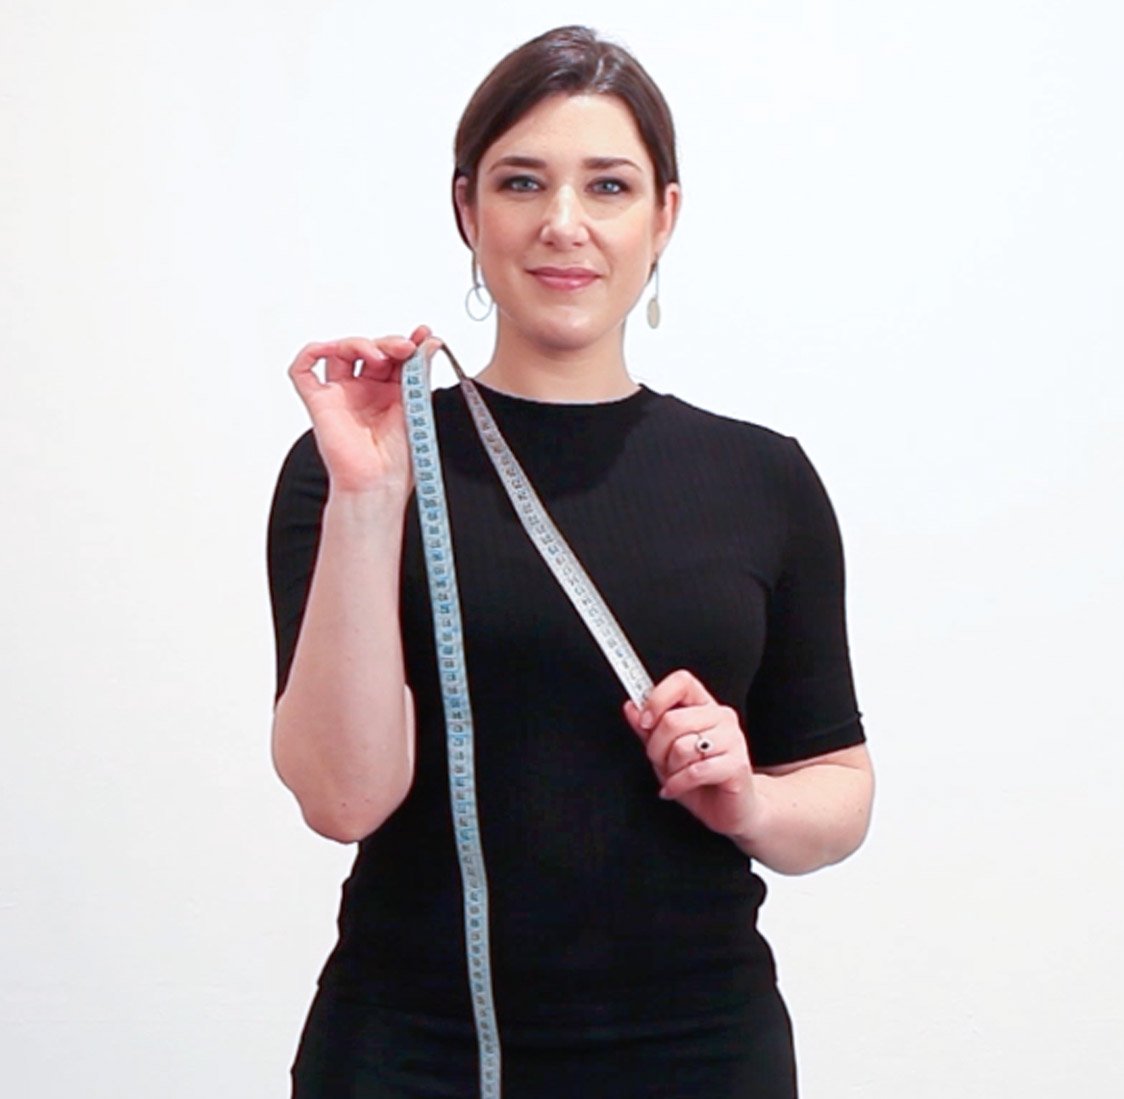
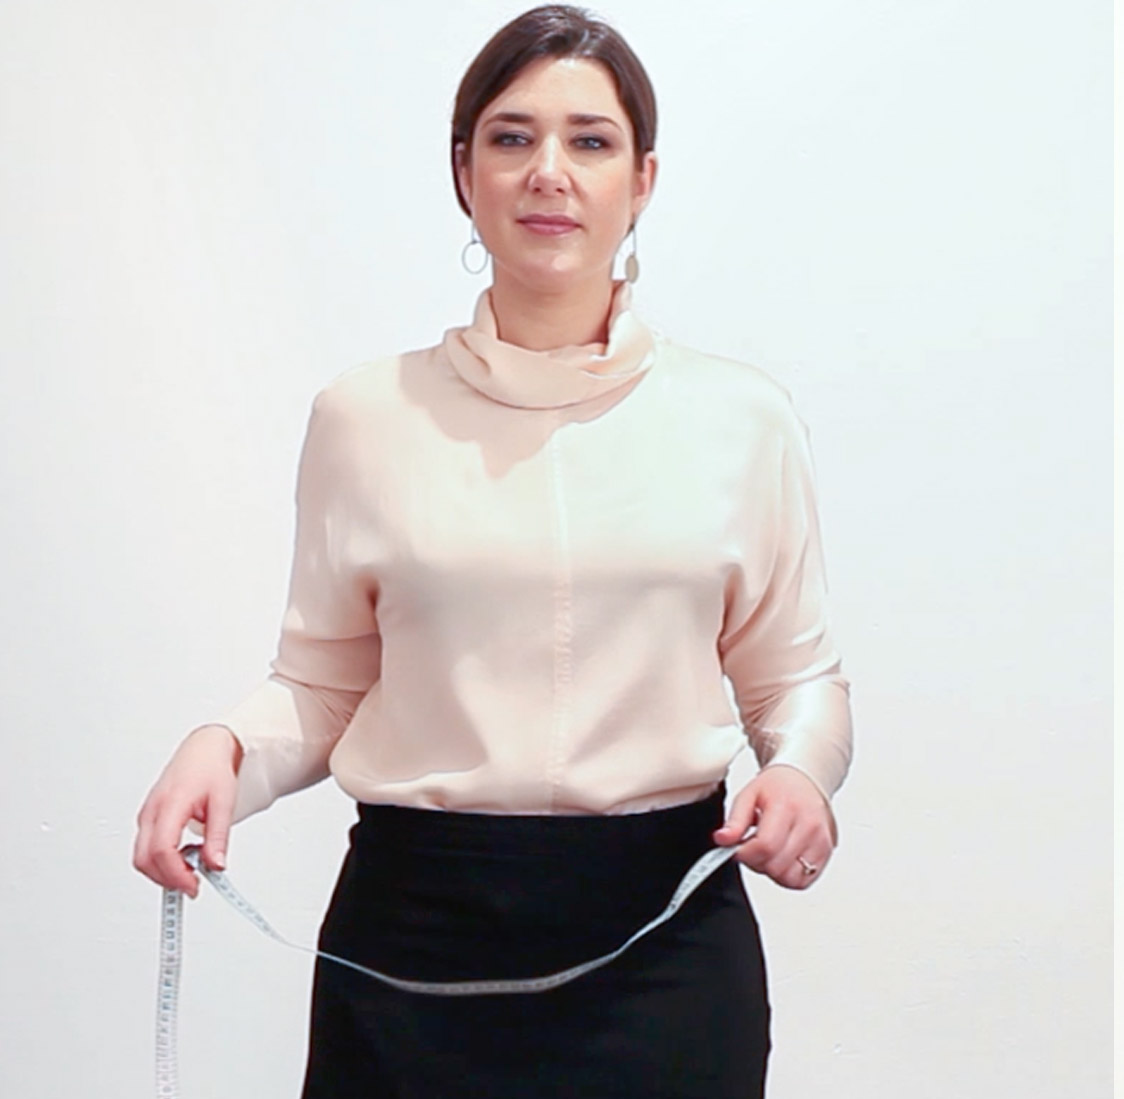
Follow the instructions in the video below and you will get instructions how to measure your size. We measure only the 3 most important measurements: Waist, hips and chest. Length is also important, but I guess you know your own length!
Follow the videos and/or the written instructions. All you need is a measurement tape and 5 minutes of your time. Don’t have measure tape? A rope of some sort together with a ruler will also work fine. You use the rope to get the right size length. Thereafter you use the ruler to measure the defined size length of the rope
Tip: Put yourself in front of a mirror, this can help. Ans wear tight clothes or only underwear for the best result.
Measuring your chest
To measure your chest, position and pull the tape measure around your body where your chest is as broadest (under your armpits, around your back and back to the front) to get the right measure.
Measuring your waist.
Fold the measurement tape around your natural waist, where it is as smallest, a few cm above your belly bottom. Keep it parallel to the floor. Avoid holding your breath or pulling your stomach.
TIP: If you are unsure, measure 21 cm straight down from the chest. There is your most defined waist according to our measurement system.
Measuring your hips.
Pull the tape around the widest part of your hips. Adjust the tape measure slightly up and down to ensure that it is the widest part. Look in the mirror to assure you keep the tape straight.
This was our simple guide on how to measure your size. Stay tuned for more tips regarding sizing in my next story!


